
I'm a big fan of so many things about Japanese culture and one of my favourites is the idea of a 'hanami' party to welcome spring and celebrate the blossoming of the trees. Cherry blossom (sakura) and plum blossom (ume) are just so pretty! I really hope to visit Japan in the spring and enjoy a hanami party and drink sake under the blossoms some day. Until then you may find me in the garden in spring having a wee sake by my very own cherry tree...
I wanted to bake a Japanese themed cake for my friend Steph who spent six months working in Japan and was lucky enough to partake in the hanami festivities. I've previously made the below blossom cake for my cake decorating certificate. This time I wanted to make something with more impressive flowers using sugar florist paste.


The design is very much based on the fondant fancies in from Peggy Porschen's Cake Chic. Given how much I love blossoms I'm not sure why I've not made this before!
It's a normal 6" cake decorated with pink fondant. You can see my other blog posts here with instructions on how to bake and decorate the basic cake.
It's been quite warm and humid this week which complicated things. The buttercream was very runny and struggled to be whipped so I had to refrigerate it to firm it up. The heat also made the marzipan and icing extra pliable and easy to stretch and tear so I may resort to lightly chilling them the next time I bake in summer. I'll certainly be allowing extra time when baking when it's warm in future.

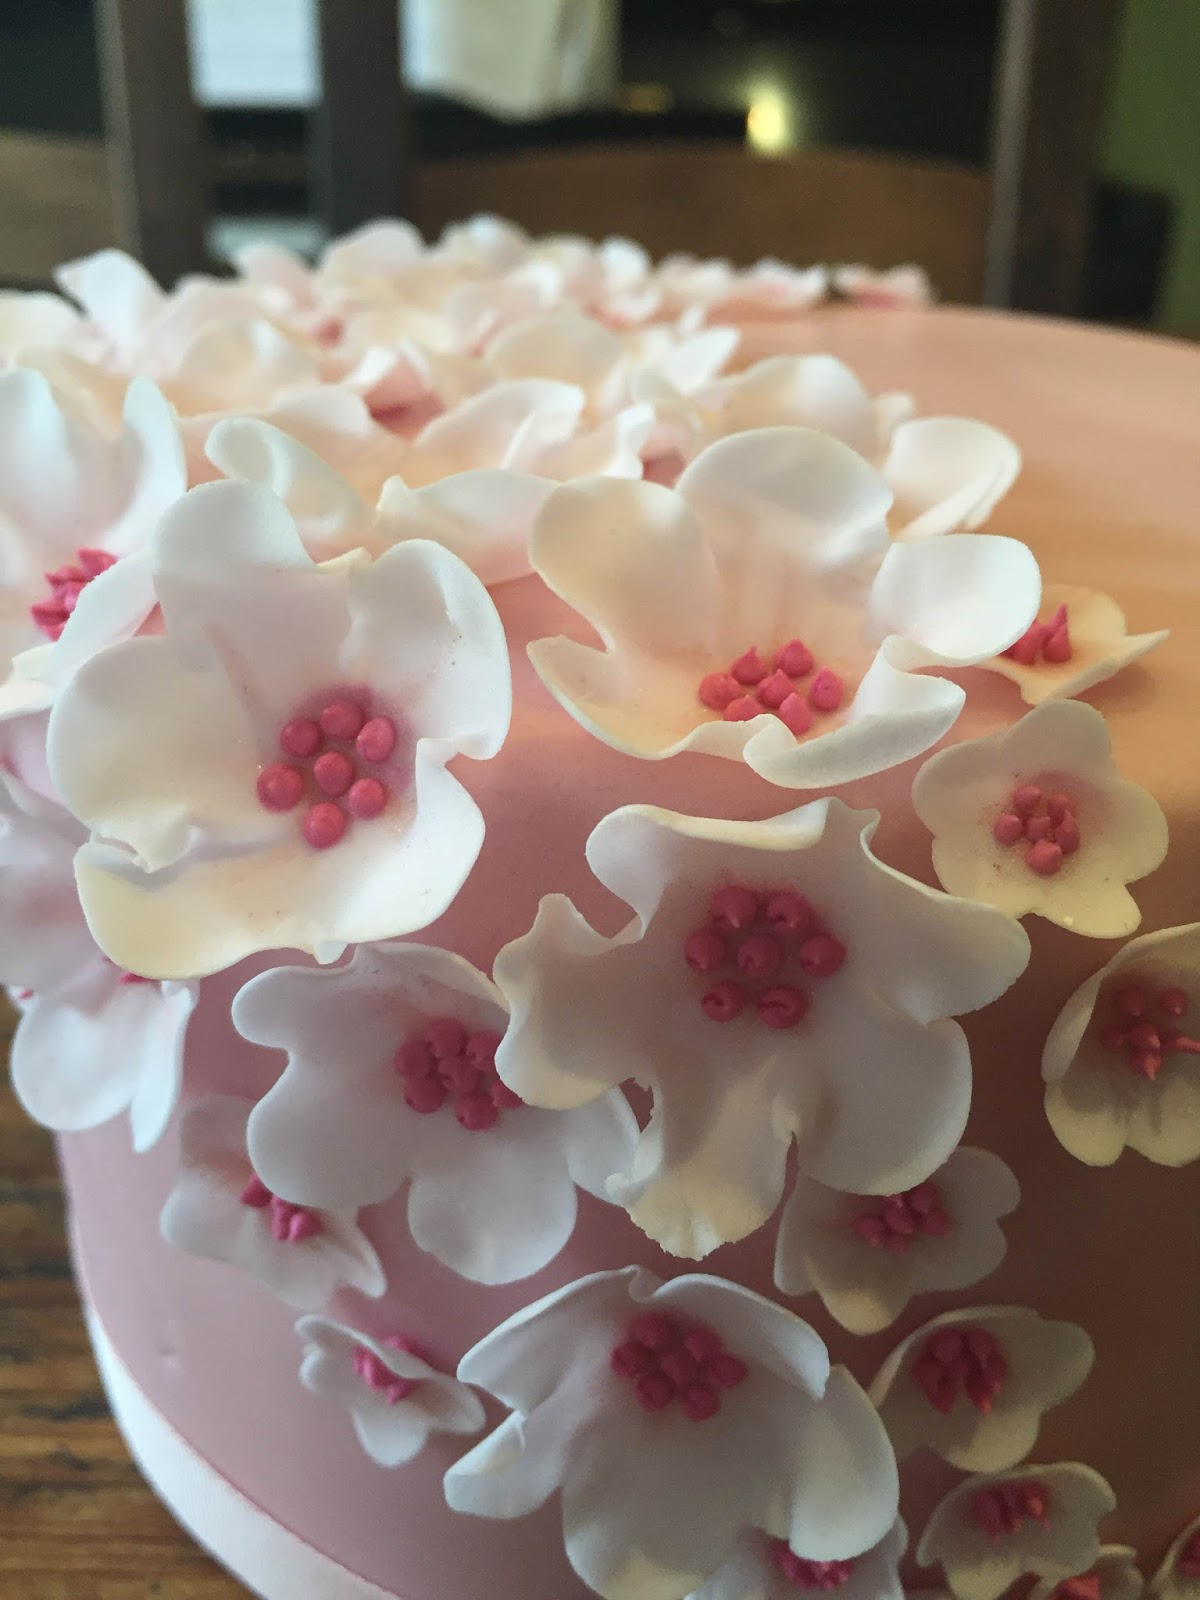
The petals are made from sugar florist paste. This is an icing with added gums that mean it can be worked very, very thinly. I first rolled the paste and used a blossom cutter to cut out the simple flower shape. I then placed the blossom on a cake decorating sponge and gently thinned further using a ball tool. The tool should be rubbed over the flower evenly until it is consistently very thin and almost see-through. Finally to really flute the edges I rubbed the tool with a fairly firm pressure just over the edge. I left the flowers to shape and dry in an an artists palette that had been dusted with corn flour to prevent it sticking.


Once dry the next stage was to give the flowers a light dusting in the centre with some dusting powder. I used a tiny brush and a small drop of claret dust which I'd lightened with some white dust for a more subtle finish.
I then made and coloured pink some royal icing which I added to a small piping bag with a tiny 'no 1' piping nozzle. I piped tiny dots of royal icing in the centre for the stamen.

I then piped a larger dot to the back of each flower and used that to attach the flowers to the cake.
Nice. Different looking.
ReplyDeleteVisit for more details:-
Cake Under 500
Sakura
ReplyDeleteNeat
ReplyDeleteCute 🙂
ReplyDelete