Showing posts with label green. Show all posts

Sunday, 5 January 2014

Tiffany Pearls Cake

Two tier Tiffany Pearls cake

I've been meaning to make this cake for ages but it's a complex one so I needed a really good reason to bake it. This week was my dear Mum's birthday so I thought it would be the perfect occasion.

The cake is based on this Peggy Porschen design from her Cake Chic book. Peggy's version is a Wedgewood blue but I've done it, more properly in my opinion, in Tiffany green by mixing some Holly Green and a touch of Navy food colouring into sugarpaste.

I wanted an impressive cake with a 7" and 5" tier but I couldn't find any 5" tins on my local high street. Any bigger would have been far too much cake for our small family party so I had to settle for 6" and 4" tiers.

Bottom tier cake with supports
A two-tier cake really needs support to stop the top-tier sinking into the bottom one. You can buy special supports for this but I already had some cake-pop sticks which I just cut down to the right height. The sticks are meant to sit about one millimetre above the top of the icing. The board for the top-tier should sit on the supports and not the cake below so as not to squash the cake and make sure the structure is stable.


I'm massively out of the habit of decorating with royal icing so I'm quite pleased with how well this has come out. I did a practice version completely free hand and learned that I just don't have the skills to do that! On the real cake, as recommended by Peggy, I scratched a straight line into the top tier and used that as a guide line. For the bottom tier I hand drew some swathes onto a piece of paper that I then traced onto the cake and used that as a guide line. After piping on the pearls I left them to dry and then painted then with edible lustre to give them the pretty pearlised sheen.


Sunday, 22 April 2012

Cherry Blossom

Japanese kimono cake with cherry blossom trees

I've recently been admiring the spring cherry blossoms in Greenwich which inspired me to upload this photo. I'm a big fan of Japanese style and really enjoyed designing this cake for my assessment in cake decorating (NCFE Certificate in Creative Craft, level 1). 

Tree decorations in progress For the assessment I used a cake dummy - a cake shaped block of polystyrene - which gave me time to work on the design over a number of days. The trees were piped from royal icing and whilst it was drying I worked in the realistic bark texture using a small brush.
The flowers were cut using a blossom cutter from pink flower paste and then shaped with a round icing tool on a foam pad. Before attaching to the cake I gave each blossom a light dusting of extra colour. I think this adds a pleasing variation between the individual flowers. The blossoms were painstakingly attached with dots of royal icing with an extra dot in the centre of every flower.

Japanese cherry blossom cake decoration

The model of a woman was inspired by a couple of Eastern designs I'd seen in Squires Kitchen cake decorating magazine. The torso and legs are one piece of mexican modelling paste which has been draped in a fabric-thin layer of paste for the kimono. The arms were modelled separately and attached with edible glue. I particularly liked using a sugarpaste extruder to create strands of black hair which were then draped around the head into a bun. 

Since creating this design I've had the pleasure of visiting Japan. It's a really wonderful place that I highly recommend visiting.

Sunday, 8 April 2012

Hoppy Easter

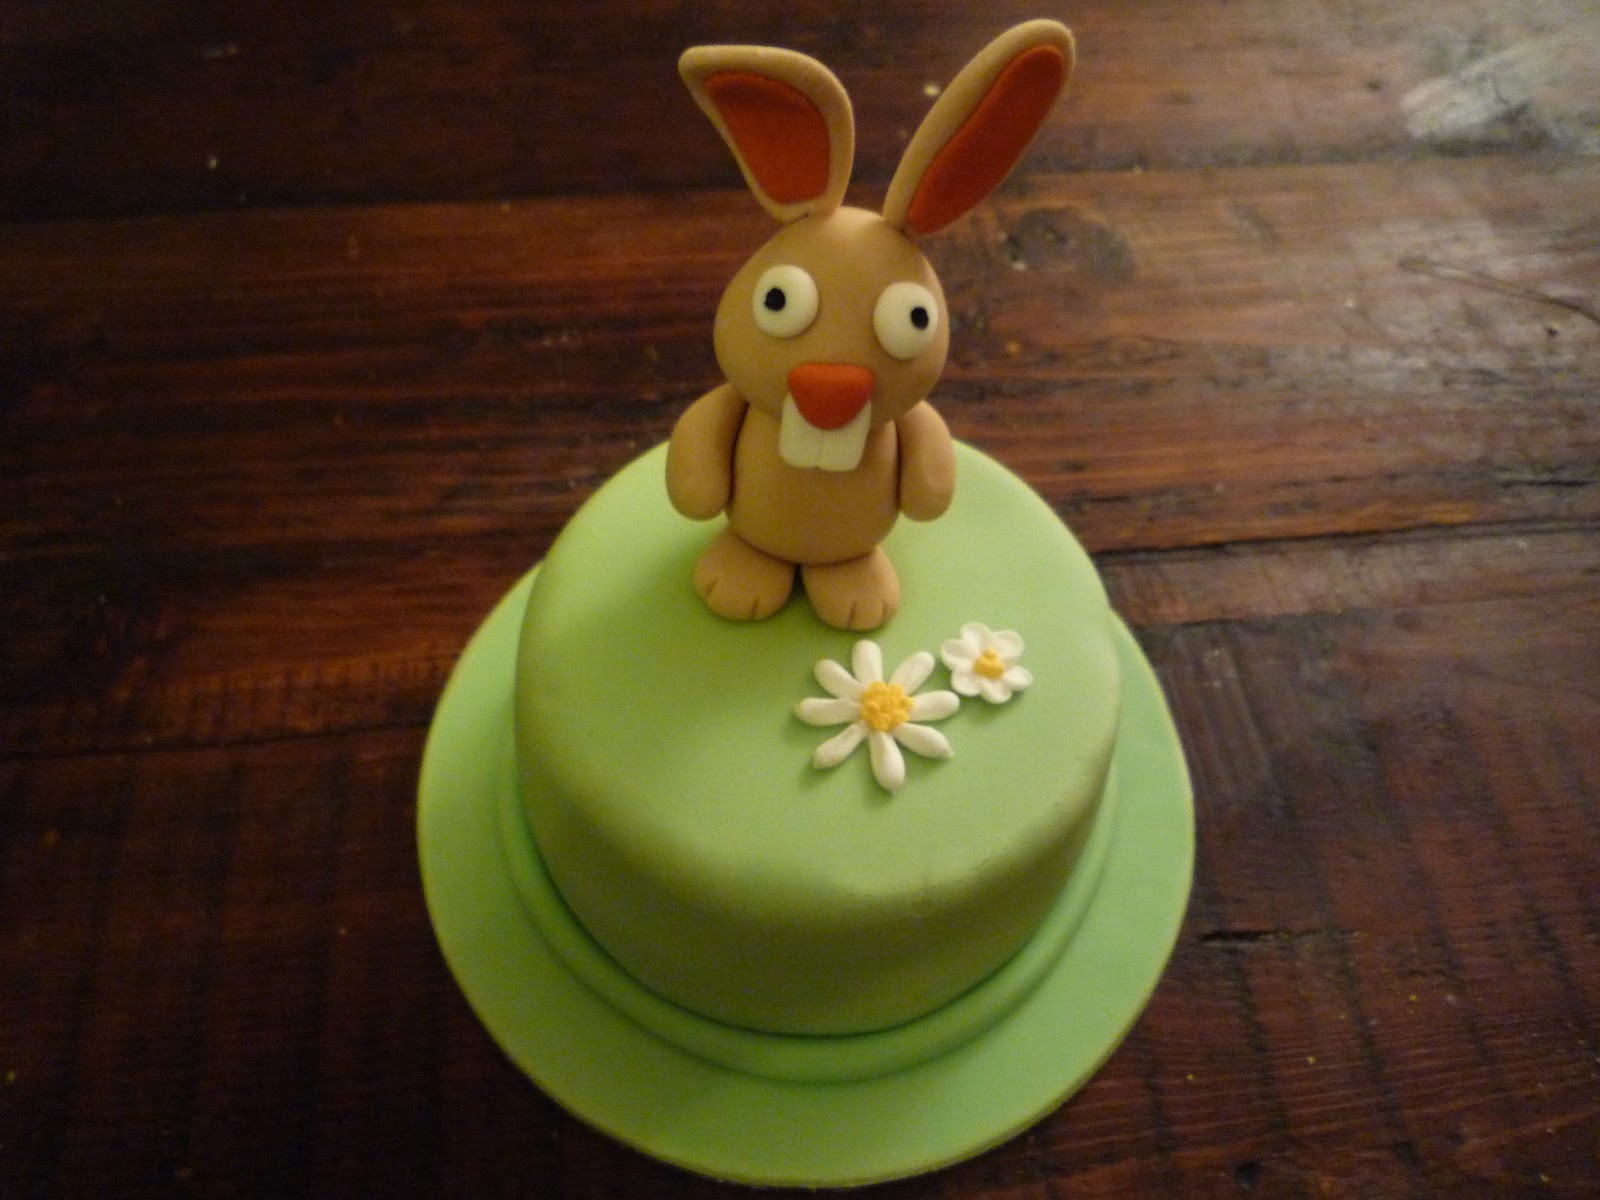
Rabbit cake decoration
Happy Easter from the Wee Greenwich Bakery.

Here's a quick and easy 4" cake from a couple of years ago. I really like to make models - I spent a lot of time playing with FIMO modelling clay as a child and I think sugarpaste is a very similar, but more delicious, medium!

Friday, 6 April 2012

Lord of the Isles

Macdonald tartan cake

This is the cake I baked for my husband Stuart's birthday. I baked this in a rush in just one evening as a surprise for Stuart to take to work.

This is my own design and I'm rather pleased with it. The design is based on Stuart's kilt tartan; the 'Macdonald Lord of the Isles Hunting Ancient'. I had the idea to make a tartan cake after using the pasta machine to roll out sugarpaste ribbons for the delightful present cake.

I bake a lot of square cakes in my fantastic Silverwood  adjustable cake tin. It gives me the flexibility to make any sized rectangular cakes I like - or up to four 6" square cakes at the same time. In our tiny kitchen this multi-functional tin is a great.

To start I iced the sponge cake with regular sugarpaste that I had coloured a dark green. I then added Tylo powder to some extra paste to stiffen it to a gum and added the colouring. The pasta machine was used to roll thick ribbons of the blue icing which was simply sliced using a ruler and sharp knife. Then the tagliatelle attachment was used to make the black and white ribbons and the spaghetti cutter for the red ribbon. I interwove the strands and glued them onto the layer underneath with a dab of clear alcohol.

The cake was very well received in Stuart's office and I'm looking forward to trying other tartan designs in future!