Showing posts with label model. Show all posts

Saturday, 30 December 2017

Oi Frog! cake

"Oi FROG! Sit on a log!" said the cat. "But I don't want to sit on a log," said the frog. "Logs are all knobbly and uncomfortable and they can give you splinters in your bottom". 

Oi frog birthday cake

So opens my little boy's favourite book - it may be his favourite possession in the world. I've lost count of how many times he's brought it to me to read just this morning. When it came to his first birthday I wanted to make him a very personal cake - something that he'd recognise and may understand was for him and we couldn't think of anything he'd enjoy more than an "Oi Frog!" cake.

Unfortunately my son has allergies to dairy and eggs. It's not really been that much of a problem whilst he's so little. He doesn't know he's missing out and we'd obviously rather he generally didn't cake anyway. But for his birthday he deserved a treat and so I needed to learn how to make a cake suitable for his allergies.

It took a lot of practice. Vegan cake just doesn't behave like I'm used to from many years of making traditional cakes. I was aiming for a chocolate cake as I expected the extra flavour may mask the fact the butter and eggs were missing. I started with a copy of 'Ms Cupcake "The naughtiest vegan cakes in town"' and developed on their recipe for chocolate peanut butter cupcakes (did I mention that he has a peanut allergy too...).

With regular cake it's basically the same recipe for cupcakes and full size cakes. I learned the hard way that there's a reason this book has different recipes for cupcakes and cakes. When I used the cupcake batter in a 8" cake tin it burned at the edges whilst it was still raw in the middle. I tried using the cake recipe in the 8" tin and that baked ok but it wasn't as light and tasty as the cupcakes had been. Probably all just my inexperience.

In the end this is what worked for me:

Wet ingredients:

200ml soya milk
20ml cider vinegar
80ml rapeseed oil
1tsp vanilla extract
50g smooth hazelnut butter

Dry ingredients:

170g self raising flour
200g caster sugar
30g cocoa powder
1/4 tsp salt
1/4 tsp bicarbonate of soda
1/4 tsp baking powder

Preheat the oven to 180 c. Grease and flour a log tin such as this one.

Add the vinegar to the soya milk and leave to stand for 10 minutes.

After 10  minutes add the rest of the wet ingredients to the soya milk mixture and mix really well so the hazelnut butter is fully combined.

In a separate bowl sieve all the dry ingredients together and mix really well so everything is combined.

Now working quickly because as soon as the vinegar hits the raising agents the magic chemistry will start to happen, add the wet to the dry ingredients and mix for no more than 10 seconds. A few lumps are fine. Pour into the greased tin. Give it hard tap on the work surface to pop any bubbles then put it straight in the oven for 30 minutes or until a skewer inserted into the middle comes out clean.


I'd struggled to picture how to bring the frog to life in a 3D model when I found a fantastic example from Vanilla Frost Cakes. Massive kudos to them for the inspiration here.

I added Tylo powder and green and yellow food colouring to some supermarket sugarpaste and sculpted it into the frog's body. I then added extra food colouring to a little paste and made the spots which were stuck on with edible glue made from Tylo. The limbs were extruded through one of these nifty devices. I'm particularly proud of the writing which was done using some edible white tint powder mixed with a little neat alcohol to make a paint that would dry very quickly and give the chalky effect.


Thanks to Kes Gray and Jim Field for creating this book that our little boy loves. Euan had a lovely birthday and really enjoyed his surprisingly tasty cake.

Oi Frog book cover

Sunday, 17 May 2015

Alexander's Christening Cake


This cake was a christening gift for our friends' baby Alexander. His mum had asked for a two tier blue and white cake with rocking horses, bunting and baby blocks with his name. 

I considered making a 5" and a 7" tier but that didn't seem substantial enough for the big party so I settled on a 6" and 8" tier for a truly massive cake. This is the first two tier cake that I've made since we bought a new stove. It seemed a great opportunity to try out the side oven, in which, I'd been assured by the salesperson, I could bake four tiers at the same time and they'd all cook evenly. This oven had only been used for cooking many frozen pizzas so I was certainly pleased to put it to a more worthy use. In this case I'm pleased to say that the salesperson was correct! They look a bit sunken in the picture below but I think that was more to do with me shaping the batter in this way before they were baked.

I followed all the usual processes for making each tier as I've mentioned before; slicing, layering with buttercream and jam, covering with buttercream then marzipan and then sugarpaste icing.

The letters and rocking horses are cut from a modelling paste made of sugarpaste and CMC. If there's a way to use the cutters to cleanly cut out pieces such as these then I do not know it! This time I've found that the easiest way to use them without distorting the letters is to cut each letter but not remove them from the surplus icing until they have been left to dry overnight. I then needed to use a scalpel to carefully neaten up the edges; a time consuming but ultimately rewarding task.


I fashioned a template for the bunting swathes from a piece of greaseproof paper and used a scalpel to etch a line onto which I could glue the bunting triangles and pipe the rope. I haven't practiced piping royal icing in over a year and it does show, but I'm reasonably satisfied with the overall result.

The rocking horse on top of the cake is made from two cutouts glued together only in the top half. The bottom halves were then held apart as the model dried. Finally I added a saddle made of modelling paste and piped eyes, a mane and tail.


Sunday, 26 January 2014

Baby shower cake

Blue baby blocks cake for shower

I was very pleased to make a cake for a friend's baby shower this week. The brief was to make a blue cake to fit with a book and alphabet themed shower. Searching for book cakes returns loads of gorgeous examples but I was quite pushed for time this weekend so settled for something I knew I could do well and quickly. Often cakes as simple as this can be harder to make than the more complex designs as there is no way to hide any imperfections! I think the simplicity is very effective.

Even though this is a well rehearsed design I did learn something new whilst baking this cake; always crack your eggs into a bowl before you add them into the mix! After spending a good few minutes beating the butter and sugar together, the first egg that I cracked straight into the mix was clearly bad. I had no choice but to throw all the mix away and start again. At least it was the first egg and not the sixth! In future I'll be certain to crack them into a bowl or cup first.

I'd made the baby blocks before for Jessica's Christening Cake. They are made from sugar paste with added Tylo to stiffen them up. The letters are cut out from a very thinly rolled coloured version of the same paste. I recommend leaving the letters for a few minutes to dry and stiffen before trying to separate them. Use a cocktail stick to remove any excess icing and a sharp knife to lift them off the board.

This is the first time I've used my new 7" round tins that I bought for the Tiffany cake but didn't get to use. They made a really good sized cake for this part with about 12 people. Slices were generous and there was plenty of cake left over to take home to hungry husbands.

That's all there is to it!

Sunday, 19 May 2013

Mr Bump

Mr bump cake
I've been wanting to make a this cake for a while so when a slightly accident prone friend, with a thing for Mr Bump celebrated his birthday I jumped at the chance to give it a go!


At its heart this is a simple 6" sponge cake but the difficult part was making the limbs which were carved out of another cake. The trick was to chill the cake down to make it more solid before carving. I then added a layer of butter cream and chilled again.


When the limbs were properly solid then covering the limbs with marzipan and sugarpaste was quite straightforward.

Just to prove there really was cake inside!
The bandages were made from sugarpaste with added CMC to allow the paste to be rolled really thin for this nice layered effect. 

I'm quite proud of this cake. It was quite tasty too - even if I do say so myself!

Sunday, 10 February 2013

Jessica's Christening Cake


Christening cake with teddy bear

I was proud to be asked to bake a cake for our friends' baby's christening. They knew how they wanted the cake to look and gave me a couple of pictures to work from. This is the first time I've made something based on a design someone else has chosen and it was a nice challenge to work on something I wouldn't normally choose myself. I was tricky to just work from pictures without any instructions - but I think I did OK :)

Adjustable cake tin
I used my trusty adjustable cake tin that I've mentioned before. You can see in the picture to the left how it can be adjusted to make a cake of your preferred dimensions - in this case a whopping 9 inches! I was feeding a hungry bunch of Northerners after all!

Unfortunately I only have one of these tins, and even then only one would fit in our tiny oven, so I had to bake the two different layers separately. I haven't baked many large cakes in the oven of our house and didn't know there is a nasty hotspot and consequently the first tier didn't come out very evenly baked. I had to slice off quite a lot of cake to get it to sit flat so in the final cake there are only three layers instead of my usual four.

I started working on the decorations for this cake during the week so that they would be nice and dry by the time they were needed today. I used modelling paste to make the extremely cute teddy bear. He's essentially made of a ball for a body, another for a head and sausages for arms and legs. These modelling tools were great for shaping the ears, eyes and the cute seam down the middle of the head. Couldn't you just hug him? (Or bite his head off?!)

Cute pink teddy bear cake decoration with starsI also used modelling paste for the stars. I simply cut these out of paste and inserted some florists wire which is normally used for the stems of sugar flowers. Unsurprisingly modelling paste was also used for the building blocks and cut out 'JESSICA' letters.

The stars and hearts were all dusted with edible lustre to give them a nice pearlised sheen.

I'm well out of practice at royal icing lettering so I'm pleased with how well these letters came out. Next time I'll be sure that I mix up a colour that has more contrast to the icing so you can better see my handiwork.

The cake was extremely well received by all! I'm quite proud of it - even if I do say so myself :D

Now to relax and treat myself to a well deserved gin and tonic.

Wednesday, 26 December 2012

Marzipan fruits

I made these Marzipan fruits on the same weekend as the fabulous Penguin Party- it was a serious sugar modelling weekend and my hands were stained all kinds of colours from all the food colouring! They look like my own little market stall :)

Marzipan fruits

This fruit salad consists of bananas, apples, limes, clementines, lemons, cherries and peaches. They're not exactly to scale!

I think it's really important to get the colours and textures as realistic as possible. Notice how the lemons are a different, brighter, shade of yellow than the bananas. To texture the citrus fruits I simply rolled them against a real orange - what better way could there be to create the effect of the zest?! No fancy modelling tools here!

I diluted a bit of paste colour with vodka to make a thin paint for the bananas - one of the rare times a liquid food colouring is the right thing for the job.

I think the fruits made a cute Christmas present in this heart shaped box I bought in the local market;


Sunday, 22 April 2012

Cherry Blossom

Japanese kimono cake with cherry blossom trees

I've recently been admiring the spring cherry blossoms in Greenwich which inspired me to upload this photo. I'm a big fan of Japanese style and really enjoyed designing this cake for my assessment in cake decorating (NCFE Certificate in Creative Craft, level 1). 

Tree decorations in progress For the assessment I used a cake dummy - a cake shaped block of polystyrene - which gave me time to work on the design over a number of days. The trees were piped from royal icing and whilst it was drying I worked in the realistic bark texture using a small brush.
The flowers were cut using a blossom cutter from pink flower paste and then shaped with a round icing tool on a foam pad. Before attaching to the cake I gave each blossom a light dusting of extra colour. I think this adds a pleasing variation between the individual flowers. The blossoms were painstakingly attached with dots of royal icing with an extra dot in the centre of every flower.

Japanese cherry blossom cake decoration

The model of a woman was inspired by a couple of Eastern designs I'd seen in Squires Kitchen cake decorating magazine. The torso and legs are one piece of mexican modelling paste which has been draped in a fabric-thin layer of paste for the kimono. The arms were modelled separately and attached with edible glue. I particularly liked using a sugarpaste extruder to create strands of black hair which were then draped around the head into a bun. 

Since creating this design I've had the pleasure of visiting Japan. It's a really wonderful place that I highly recommend visiting.

Tuesday, 10 April 2012

Penguin party

This is one of my very favourite designs. It's a cake that I iced for a Christmas party a couple of years ago. I can't take credit for the cake itself as my Nanna kindly bakes our family Christmas cakes each year. The cheeky penguins are all mine though!

The fruit cake was matured with the occasional splash of cognac for a number of weeks. A couple of days before the party I added a layer of marzipan and then a layer of regular sugarpaste. As well as being tasty the marzipan is quite stiff and helps to give a really good base for creating perfectly smooth icing on top. I'm a massive fan of the PME icing smoothers to smooth and polish the sugarpaste. On a fairly plain white cake such as this it really helps to have the icing looking pristine. 

As usual when creating models I used Tylo powder to stiffen the paste to give an easy modelling consistency. Additionally edible glue was helpful to stick the different components together.

The penguins themselves were quite straightforward to make - being essentially based on two round balls. The flippers are a couple of smaller balls flatted out between thumb and finger. I used an edible ink pen to create the pupils of the eyes which helped to create their expressive and cheeky characters. To keep the penguins standing upright I inserted dry spaghetti into the model and down into the cake. You can't quite tell from the picture but the fish has been dusted with some edible gold lustre to give it a shimmery fish skin effect.

Sunday, 8 April 2012

Hoppy Easter

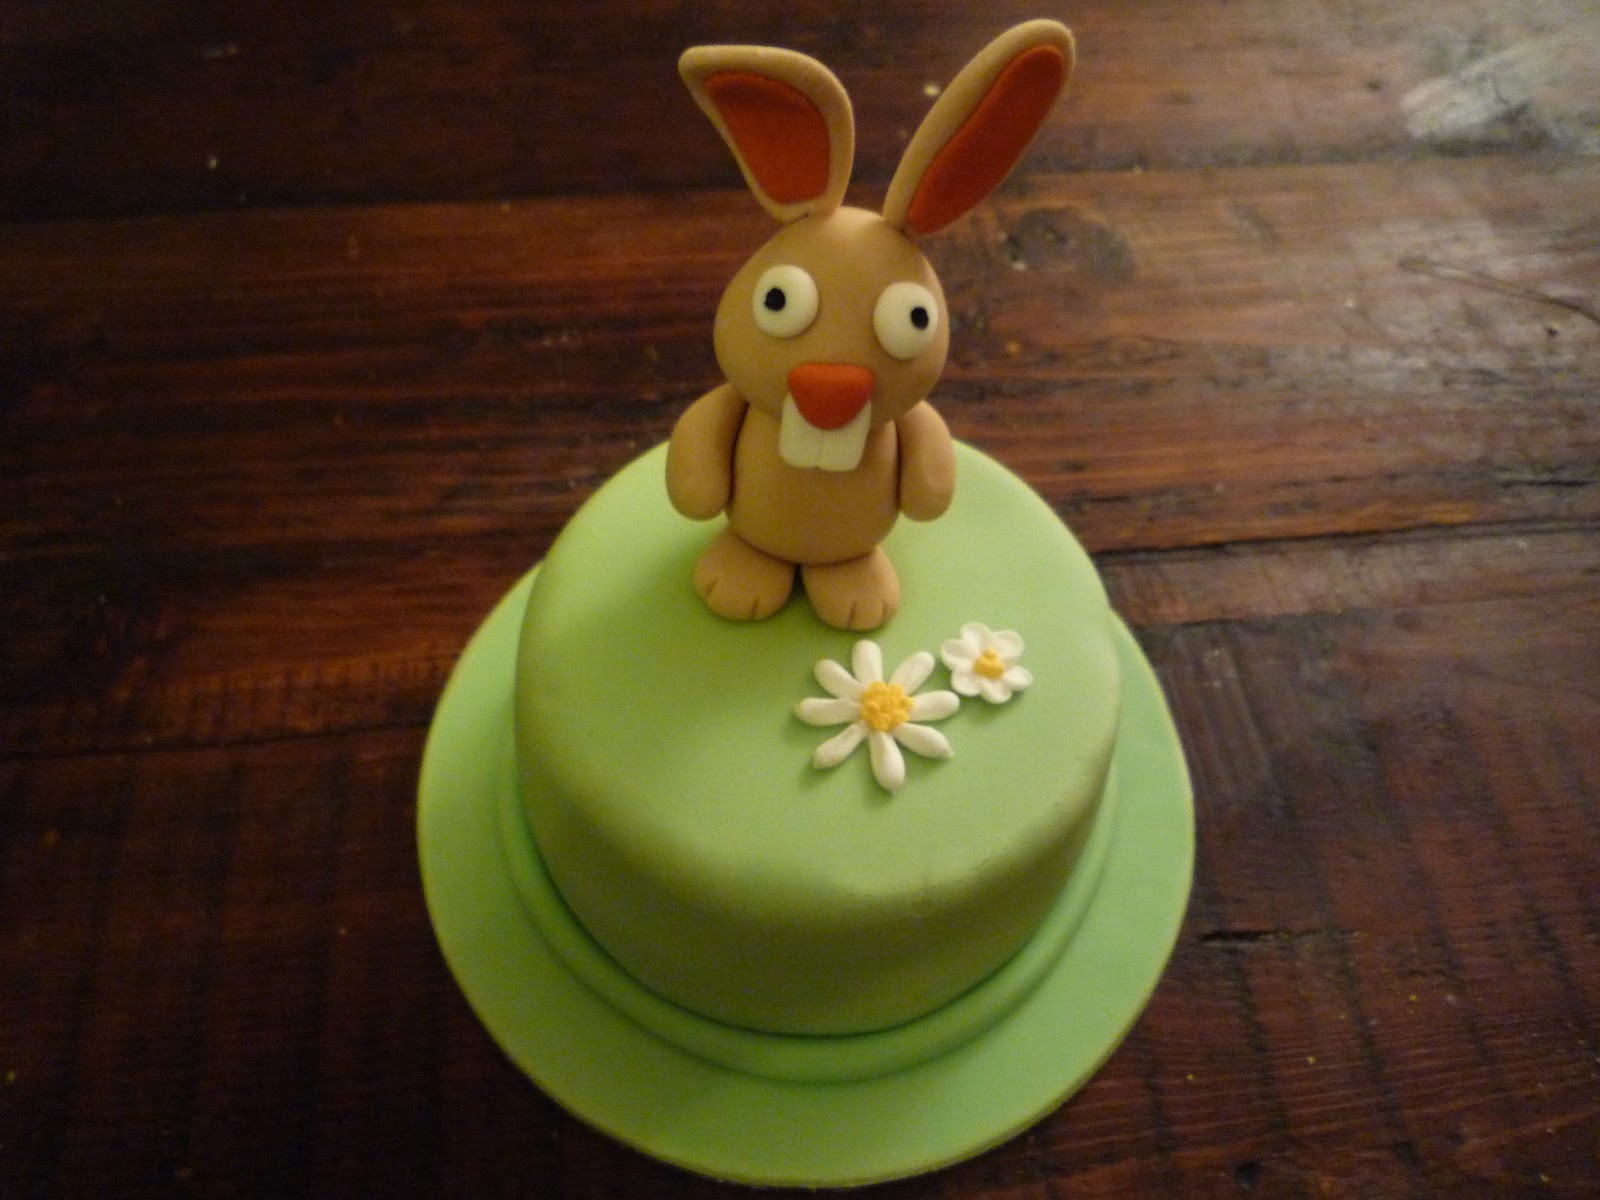
Rabbit cake decoration
Happy Easter from the Wee Greenwich Bakery.

Here's a quick and easy 4" cake from a couple of years ago. I really like to make models - I spent a lot of time playing with FIMO modelling clay as a child and I think sugarpaste is a very similar, but more delicious, medium!